This is post three in series of blog posts about a glider I save from the trash. Read Part 1 and Part 2.
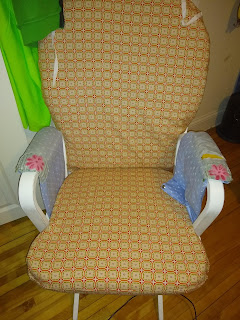
The arm rests snapped off. I used the existing arm rests to draft a pattern and I cut out two for each side (four total). There were snaps I needed to leave uncovered so the arm rest would snap back into the chair. I so used my machine to stitch up the long side of my arm rest shape right sides together and left both ends open. I turned the tube right side out and inserted the arm rests inside and then stitched the fabric to the existing arm rest on existing folds and seams. I used a zipper foot.
I then folded down the ends and stitched those down. I had to use hand stitching for part of it. While I left the old snaps uncovered in a way that the old fabric was still showing, you can't really tell when it was reattached to the glider.
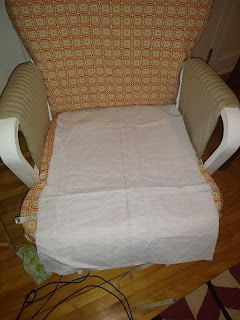
I decided that I was not quite done. The chair was still pretty busy. Plus the thrifted fabric was a little thinner than the fabric I had removed once was. I decided to create a pad that would cover the seat and protect the seat cushion where it had worn most previously. I discussed the addition with my son who admitted it would help the aesthetic of the chair.
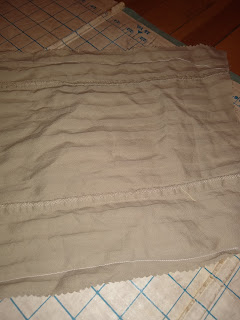
I had intended to make a double-sided pad with tan on the outside and batting on the inside. I was using a scrap piece of velour as the batting. I also was getting close to mentally done with the project and I wanted to construct the piece so that I would sew right sides together with ribbons tucked in and then turn it outside rather than quilting the three pieces, then binding the edges. I used more tissue paper to make a pattern and tested it on the seat cushion.
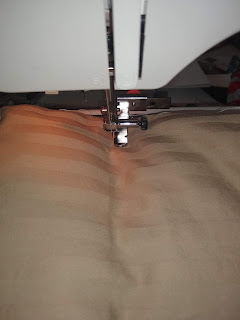
However, even after I had constructed many three-layer masks in a similar fashion, I stacked the fabric in the wrong order so when I turned it inside out the blue velour was on the bottom. I said to myself "oh well" and decided not to undo what I had done. I then added several quilting stitches to the tan side of the fabric and added the pad to the chair.
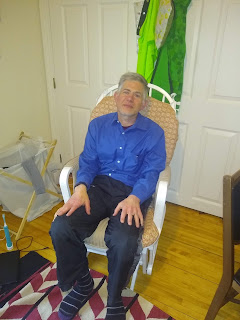
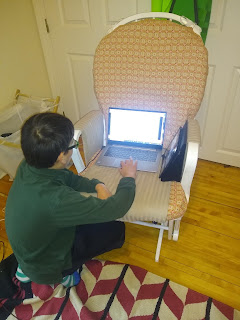
I told my son I wanted to take a picture of him using the glider, but my spouse sat down in it. So I snapped a picture of him before taking one of the kid.
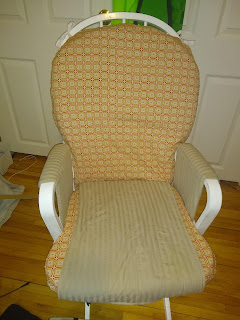
And then there is a picture of the glider by itself. I may still tighten up the back cushion a bit, but that can wait until another cold day.
%20v3.png)
%20v3.png)

No comments:
Post a Comment